The Perfect Keto Strawberry Cheesecake
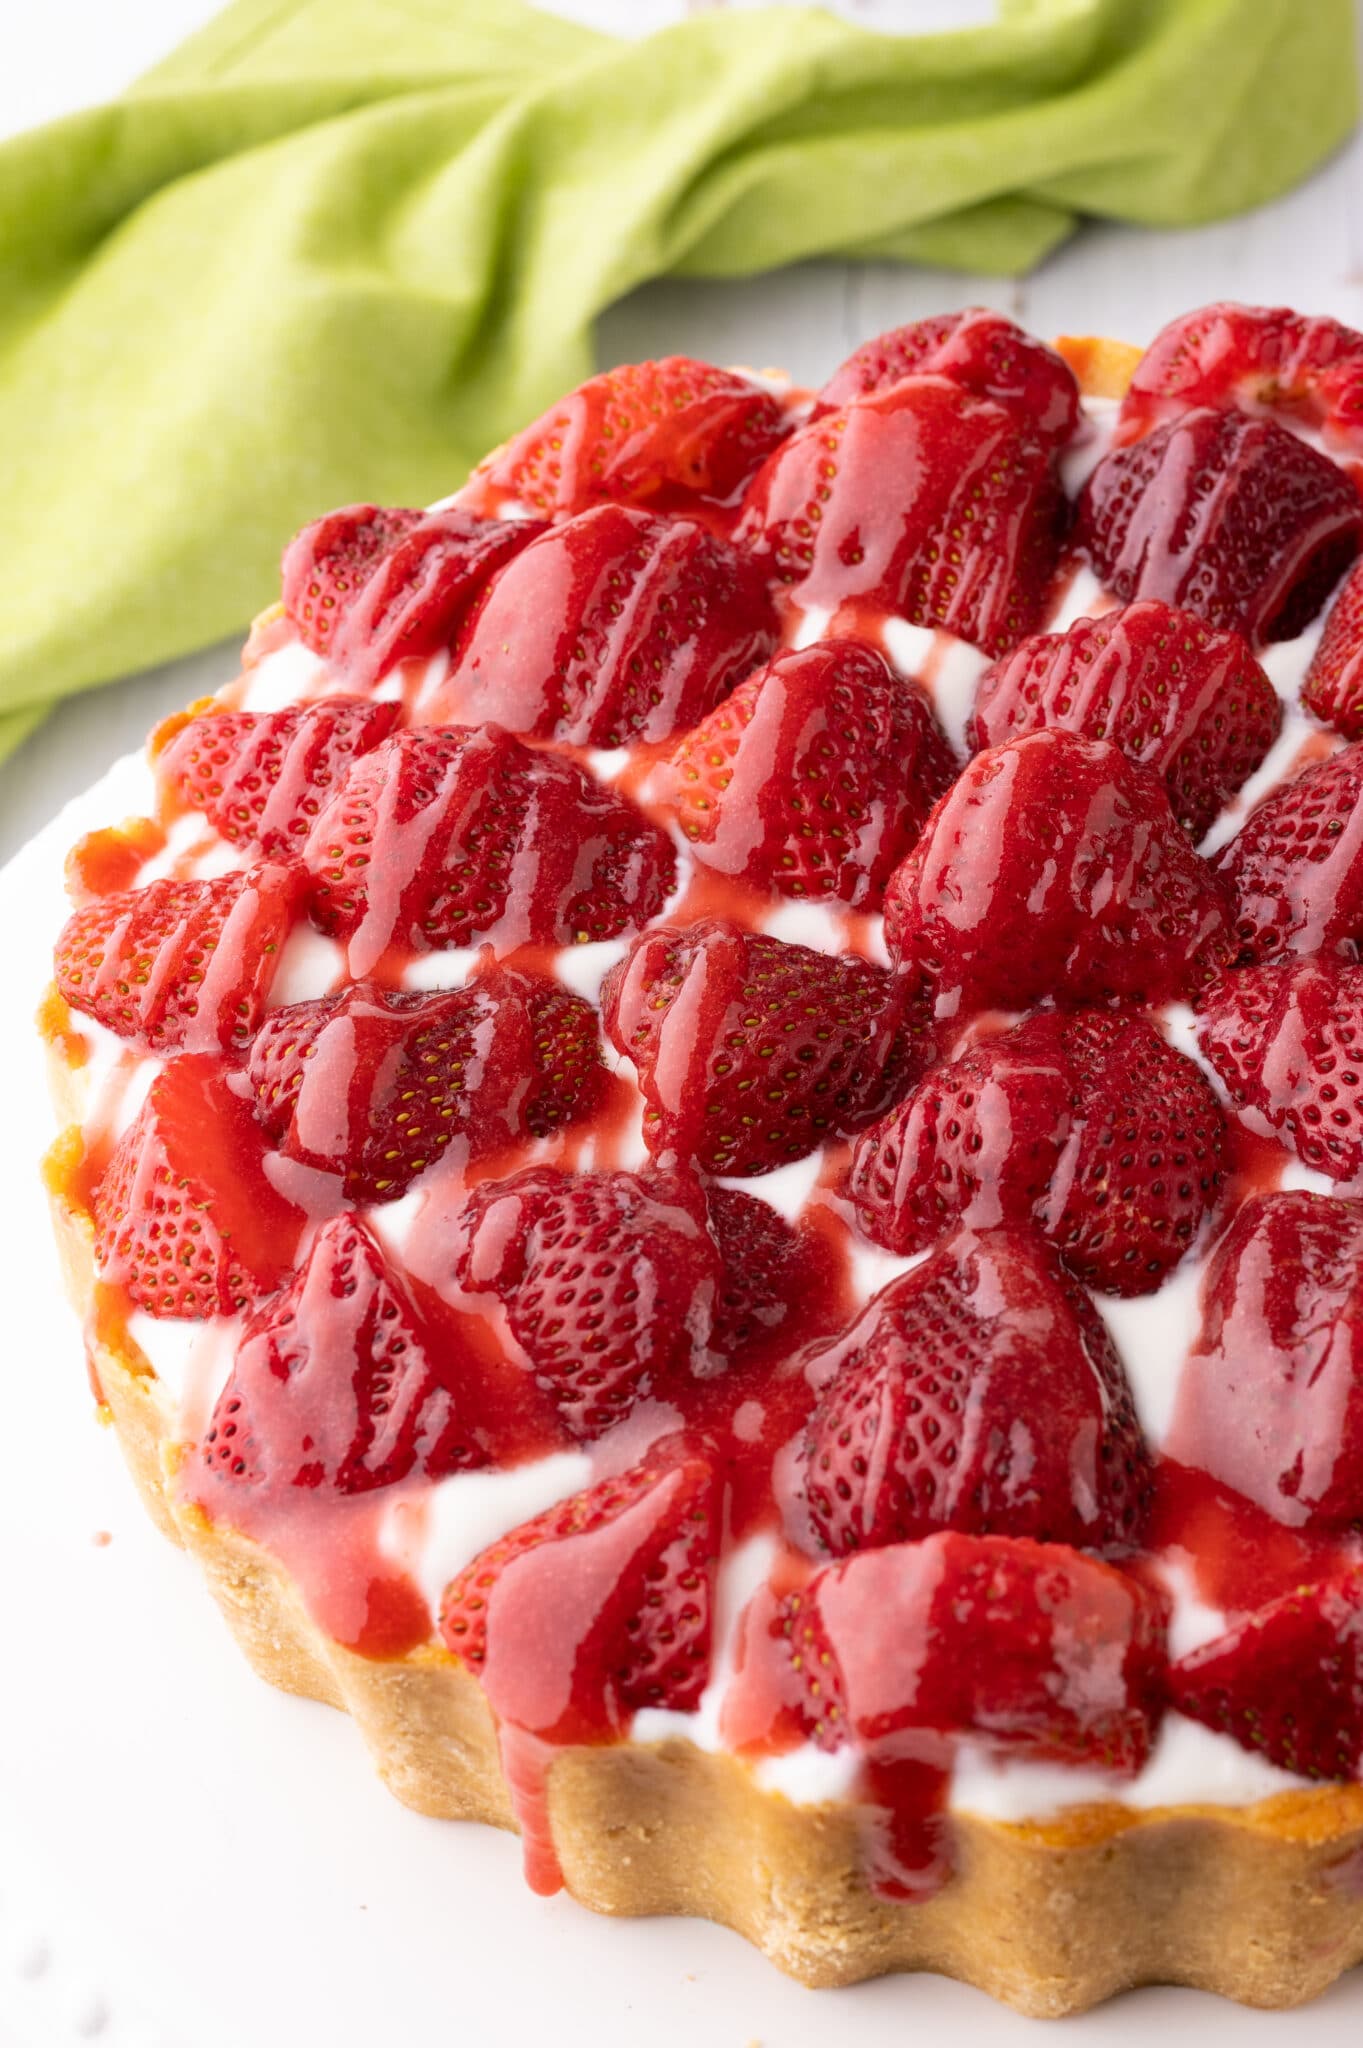
Strawberry season is upon us, and everywhere you look, fresh strawberries abound. If you want an excuse to make a cheesecake, strawberry season is a good one. It’s a great way to use up those berries in a very decadent way. Plus, this keto strawberry cheesecake recipe will knock your socks off.
As written this cheesecake recipe is:
- Low carb
- Refined sugar-free
- Gluten-free
- Keto-Friendly
- Freezable!

Table of contents
The Best Low Carb Strawberry Cheesecake!
~This post may contain affiliate links. If you click one and make a purchase, I may receive a commission at no additional cost to you. I only ever recommend the ingredients or tools I use for my recipes. You can read more about our disclosure policy here ~
This cheesecake recipe serves 14 and can be made in advance and frozen. Bonus, right? All kinds of tips and tricks at the bottom of the post tell you the best ways to freeze in advance.
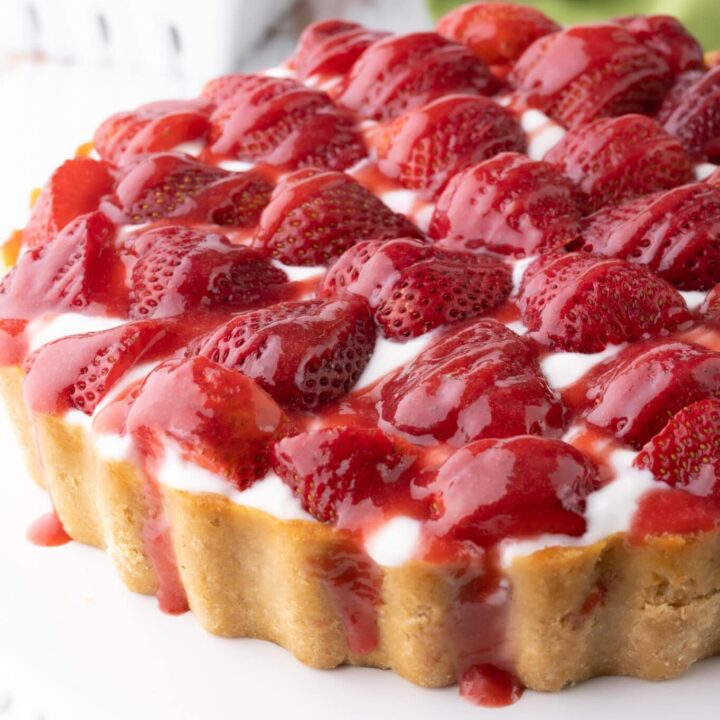
It’s also a lovely dessert! The sauce makes the strawberries shine and glint in the light. It also smells heavenly.
I’m not going to lie. It’s a bit of an involved dessert and has a few different stages. Nothing is complicated, but it does take some time to pull together.

We start with a buttery crumbly coconut cheesecake crust
There are a few tricks and tips to get this crust perfect every single time. When you pull your ingredients together, it’s going to look sticky and gooey and not at all like traditional crust. It’s ok, it works!
You also do not need to refrigerate this dough. As soon as you have it mixed, you can press it into the pan.
- Press the dough evenly into the pan. You cannot overwork this dough, so take your time and press it to ensure no areas are thin. Once you press the crust into the pan, make sure to prick it all over with a fork.
- Cover the pie pan with a double layer of tin foil and crimp the tin foil up and over the rim of the cheesecake pan. The tin foil prevents the crust from over-browning and over-baking. The crust gets pre-baked for 10 minutes.
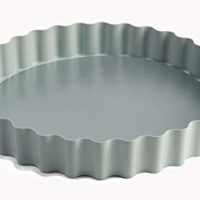
- Using a high wall tart pan instead of a springform pan seems to prevent cracking without a bunch of fussing with water baths and long cooling sessions in the oven. I have had excellent success with my high wall tart pan (I will link it in the recipe card too). If you want a perfect top, be sure to spread out the surface. You can see that I didn’t, and although the cheesecake didn’t crack, I do have spots that never levelled out.


What are the best sugar replacements for this recipe?
Use your favorite 1:1 sugar substitute.
- Powered is preferred over granular, as it blends better and has a more delicate texture.
- We used powdered allulose in this recipe, and it was perfect. It has no weird texture, no weird aftertaste.
- Bocca Sweet is excellent in this recipe!
- Erythritol and Monkfruit will both work fine in the crust and the batter so if those are your go-to sweeteners, feel free to use them. They will not work well in the strawberry sauce and will grain up and crystalize when cold.
- Liquid stevia will not work well in the crust or the strawberry sauce – but you can use it in the batter.
Answers about Sweeteners, Low Carb Baking Tips, and General FAQ
For more detailed information about must-have baking tools and answers about sugar replacements, you can check out these FAQ pages.
We also have a handy sweetener replacement chart you can download for free!
Our FAQ Pages have answers to your biggest low carb baking questions including:
Tips for Baking With Almond Flour
Tips for Baking with Coconut Flour
Guides for Allulose, Monk Fruit, and Erythritol.
Substitutes for Xanthan Gum.
Tips for Making Great Cheesecakes
- Use a high wall tart pan. Forget the springform pan. If that is what you have, go ahead and use it, but the high wall tart pan will help prevent cracking—no need for a bain-marie or endless fussing. The high wall tart pan creates a BEAUTIFUL cheesecake without cracks. I love this one from Jamie Oliver – it has a lovely ruffle, and if you check back at my last few cheesecake recipes, you can see how well it works.
- Be sure to wrap your pan in tin foil to prevent over-browning. A pie protector also helps the top of the crust from burning.
- Cool that cheesecake in the oven. Stop opening the oven door. Allow the cheesecake to cook uninterrupted and when the cheesecake is done, crack the oven door open a crack and allow the cheesecake to cool down slowly in the oven.
- Lumps are your enemy – Use room temperature cream cheese and eggs. This will prevent the tendency to overwhip the ingredients to blend the lumps. Overwhipping causes unwanted textural changes to the cheesecake.
- Leave time to chill. Twenty-four hours – you need to chill that bad boy for 24 hours in the fridge, or at least overnight to get that creamy, perfect texture before you serve.


A bit about the Toppings and Strawberry Sauce
There are three steps to the keto strawberry cheesecake, all of them are pretty easy, but they do take some time.
Sour cream topping (optional)
I usually leave off sour cream toppings because the sour cream does add a few extra carbs. I would say if this is a dessert you are making to impress, keep the sour cream. It adds a whole extra layer of texture and flavor.
The sour cream topping gets lightly sweetened with a touch of creamy vanilla. You can leave off the sour cream if you want to save a few carbs. The nutritional value in the recipe card includes the sour cream.


Notes about the Strawberry sauce
To make the strawberry sauce, you simply need to blenderize 2 cups of chopped strawberries, strain them into a pan and cook with the allulose over medium heat until the sauce thickens. Be sure to cool your sauce before you drizzle it over the cheesecake.
This stuff is GOLD. I mean, it’s super delicious and adds so much flavor and presentation to your cheesecake. I wouldn’t skip it!


Fresh strawberry topping
You can use frozen strawberries for your sauce, but only fresh ones will do for the top of your cheesecake. As the frozen strawberries melt, they will create a pool of water on top of your cheesecake and ruin it.


Serving and storage suggestions
Keep this keto strawberry cheesecake refrigerated and covered. This one only lasts about 3-4 days in the fridge and is dependent on how fresh the strawberries were. I find fresh strawberries have a short shelf life.
This recipe is a fabulous special event dessert. The perfect kind of dessert that satisfies without a load of sugar. It is a very rich dessert too, so a small piece will be more than adequate, especially after a big meal.

Cheesecake Freezing tips
Ok, so if you want to make this keto strawberry cheesecake for a holiday meal, you are in luck. Both the crust and the cheesecake freeze beautifully.
To freeze just the crust prebake it for 5 minutes, let it cool, and store it in the freezer for up to a month.
For the whole cheesecake, bake, cool and freeze without the toppings. Defrost in the fridge overnight and add the toppings once the cheesecake defrosts.
Frozen and defrosted cheesecake is BETTER than fresh.
I swear to you this is true – I don’t know what magic happens in the freezer, but it happens. So if you have to freeze your cheesecake, no worries!
Looking for More Cheesecake Recipes?
Oh, we have you covered! We LOVE cheesecakes around here, so it’s one of our favorite desserts to test and photograph.

Laura Kennedy
Writer, Recipe Developer, and Blog Owner
With decades of experience in low-carb baking, Sugar-Free Sprinkles has been whipping up guilt-free treats long before keto became a trend. Her recipes have been featured in Prevention Magazine, Women’s Health, Woman’s Day, Taste of Home, and The Pioneer Woman — to name a few!
The Perfect Keto Strawberry Cheesecake
Thick and creamy traditional keto strawberry cheesecake. No one will know this one is low carb - it's too good!
Ingredients
Crust
- 3/4 cup butter (melted)
- 2 eggs
- 2 Tbsp lemon juice
- 1 tsp vanilla
- 1 cup coconut flour
- 2 Tbsp powdered allulose
- 1 pinch of salt
Cheesecake Filling
- 3 cups cream cheese
- 3 eggs
- 2 tsp vanilla
- 1 cup allulose
Toppings
- 1 cup full-fat sour cream
- 1 Tbsp powdered allulose
- 1/2 tsp vanilla
- 2 cups sliced strawberries
- 2/3 cup powdered allulose
- 2 cups strawberries for sauce
Instructions
Crust
- Preheat oven to 350F.
- Melt the butter and add it to a large mixing bowl.
- Blend eggs, vanilla, and lemon juice in a small bowl and whisk until well blended and pour into the bowl with the melted butter.
- Add salt, coconut flour, and powdered allulose* and mix until everything is well blended and comes together into a ball.
- Press the mixture into the bottom of a 10-inch high walled tart pan, or 10-inch springform pan.
- Cover the bottom and sides of the pan with tinfoil. Wrap a bit of tinfoil over the rim of the pan to protect the top of the crust, or use a pie protector.
- Bake in a 350F oven for 10 minutes and remove and cool before adding the filling.
Cheesecake Filling
- In a medium-sized bowl or in the bowl of a stand mixer whip cream cheese, vanilla and powdered allulose, and blend until soft and fluffy.
- Add eggs one at a time until fully blended.
- Pour cheesecake filling into the prepared crust. Leave the tin foil on the pan.
- Bake in a 350F oven for 35-40 minutes or until the cheesecake is set in the center.
- Leave the cheesecake in the oven to cool for one hour to help prevent cracks.
- Cool in the fridge until ready for toppings. I recommend 24 hours.
Strawberry Sauce
- Add 2 cups of strawberries to a blender and blend until smooth.
- Press strawberries through a sieve.
- Placed strained strawberries into a small saucepan with 2/3 cup of allulose and cook on medium heat until berries cook down and sauce becomes glossy. Set aside to cool.
Sour Cream Topping
- Mix sour cream, 1 Tbsp powdered allulose, and vanilla until well blended.
- Spoon sour cream mixture on the top of the cooled cheesecake and spread to the edges. Make sure the sour cream is spread evenly.
Topping
- Start in the middle of the cheesecake and place half a strawberry. Continue to place strawberries around in a circle until the entire cheesecake top is filled with berries. Drizzle the strawberry sauce over the cheesecake. Reserve half of the sauce for drizzling over slices when being served.
Notes
* see post for sugar substitues
- Use a high wall tart pan. Forget the springform pan. If that is what you have, go ahead and use it, but the high wall tart pan will help prevent cracking. No need for a bain-marie, or endless fussing, the high wall tart pan creates a BEAUTIFUL cheesecake, without cracks. I love this one from Jamie Oliver - it has a lovely ruffle, and if you check back at my last few cheesecake recipes you can see how well it works.
- Cool that cheesecake in the oven. Stop opening the oven door. Allow the cheesecake to cook uninterrupted and when the cheesecake is done, crack the oven door open a crack and allow the cheesecake to cool down slowly in the oven.
- Lumps are your enemy - Use room temperature cream cheese and eggs. This will prevent the tendency to overwhip the ingredients to blend the lumps. Overwhipping causes unwanted textural changes to the cheesecake.
- Leave time to chill. 24 hours - you need to chill that bad boy for 24 hours in the fridge, or at least overnight to get that creamy perfect texture before you serve.
Recommended Products
As an Amazon Associate and member of other affiliate programs, I earn from qualifying purchases.
Nutrition Information:
Yield: 16 Serving Size: 1Amount Per Serving: Calories: 335Total Fat: 29gSaturated Fat: 17gTrans Fat: 0gUnsaturated Fat: 9gCholesterol: 133mgSodium: 246mgCarbohydrates: 9gNet Carbohydrates: 6gFiber: 3gSugar: 6gProtein: 7g
Nutritional information for the recipe is provided as a courtesy and is approximate only. We cannot guarantee the accuracy of the nutritional information given for any recipe on this site. Erythritol carbs (and sugar alcohols) are not included in carb counts as it has been shown not to impact blood sugar. Net carbs are the total carbs minus fibre.


