Creamy Coconut Popsicles with Crunchy Toasted Coconut (Low Carb)
Oh, these coconut popsicles rock! If you like coconut cream pie or coconut, in general, these are the perfect summer treat for you.
I was going to call them ice cream bars, but really they are a hybrid popsicle, with an ice cream bar coating and lots and lots of tasty toasted coconut on the outside.
So, so, good!

Get your summer snack on with these low carb coconut popsicle bars!
These coconut popsicles are sugar-free, low carb, gluten free and keto friendly!
When the ice cream truck rolls around this summer, don’t be tempted, pull one of these from your freezer and stay on track.

What sweeteners work best for these coconut popsicles?
~This post may contain affiliate links. If you click one and make a purchase, I may receive a commission at no additional cost to you.
I only ever recommend what ingredient or tools I use for my recipes. You can read more about our disclosure policy here ~
For the recipe, I used So Nourished monk fruit and erythritol blend. I find the powdered dissolves better.
Liquid sucralose would work as well. No extra carbs with the liquid version and it will not leave behind any grainy texture.
I would say to use your favorite sweetener here. We don’t actually use a lot, but so long as you keep the ratio at 1:1 sugar to sugar replacement you should be good to go.
A bit about making the creamy coconut popsicle filling
Coconut milk from a can is what we need here. Coconut milk beverage will not work the same way, it will turn out more icy vs creamy.
I wanted these to be super creamy and used 2 cans of coconut milk and 1 cup of almond milk.
To make the filling, it’s as simple as blending the coconut milk, the powdered erythritol (or your sweetener of choice), vanilla and melted gelatine in a small pot.
You only need to heat it enough to warm up the coconut milk and get everything blended.
The gelatine helps create a creamy texture and helps with the large ice crystals that form.
Now I did have a few icy particles in my popsicles, but they were way less in my test recipes when I used the gelatine.
Tips for reducing ice crystals in your creamy coconut popsicles
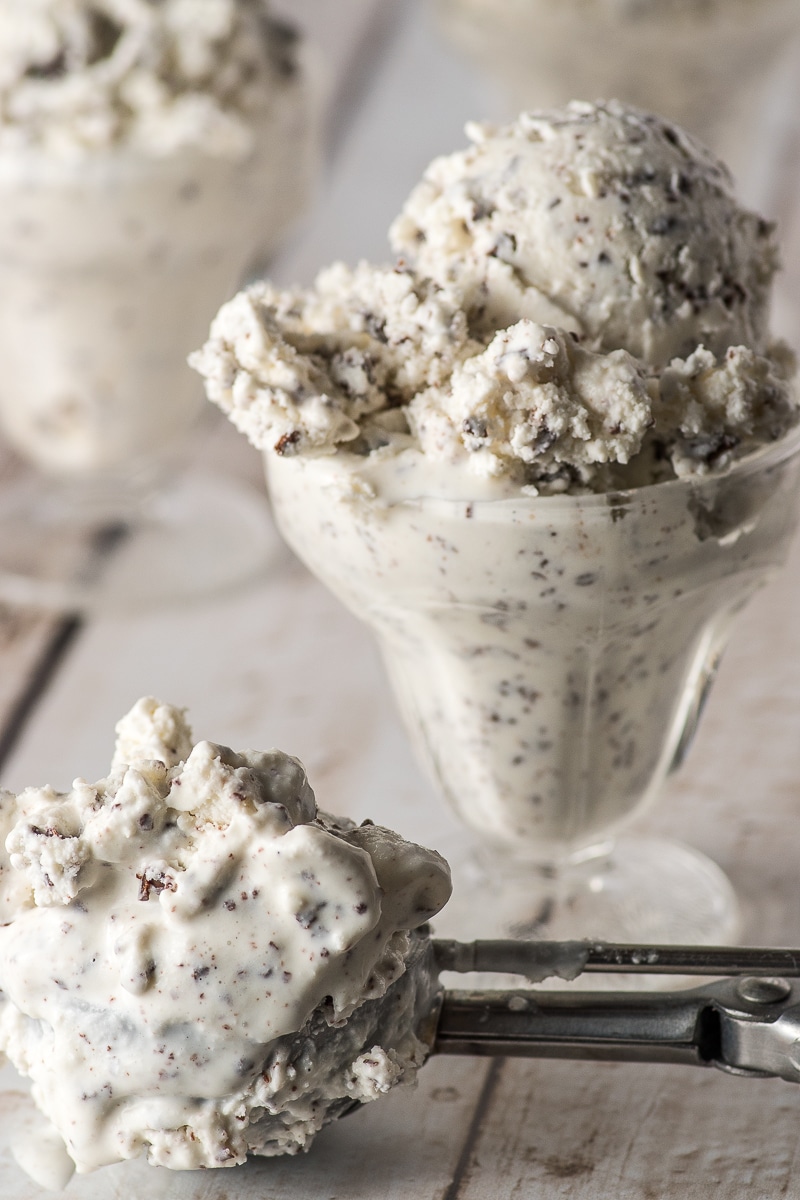
- Another option here is if you want them perfectly ice crystal free, run your filling mixture through an ice cream maker and pour it in your molds just before it gets firm. This ensures no ice crystals, but it does add a bit of time.
- Or, if these are for the adults only, you can add 2 tablespoons of good rum! The alcohol will prevent ice crystals from forming.

A bit about toasting coconut
You can toast your coconut in the oven, but to make sure the coconut toasts evenly and doesn’t burn I do mine on the stove.
5-7 minutes in a pan over medium heat with constant stirring creates a perfect evenly toasted coconut.
The toasted coconut is completely optional here, but boy does it add a nice nutty crunch!
A bit about the candy coating (it’s like magic shell!)
If you ever had Magic Shell when you were a kid, you will recognize this dip. It’s a sugar-free version and it is super easy to make.
In this recipe, I used natural organic coconut oil, so it had a nice punch of coconut flavor, but that is completely optional. You can use your refined coconut oil too.
I made a BIG batch so I was able to fully dip and submerge my coconut pops, but you can make a smaller batch and spoon your coating over your coconut popsicles instead.
My recipe calls for 3 cups of sugar-free white chocolate, and 3/4 cup of coconut oil. If you don’t want to have extra left over and you do only want to make enough for this single batch of coconut pops, you can reduce the recipe down to 1 cup of sugar-free white chocolate and 1/4 cup of coconut oil.
You can save the leftovers and use them for your next batch of summer treats.
Finding Sugar Free White Chocolate and Possible Alternatives
If you cannot find sugar free white chocolate where you are, you can make these with chocolate coating instead, they would be just as good. I was able to find low carb sugar free chocolate bars in a local pharmacy in the diabetic foods section.
Alternately you can make your own white chocolate, which is a bit more forgiving over regular chocolate. It doesn’t matter what recipe you use for your white chocolate, if you are making it home, it will likely be a bit grainy, so keep that in mind.
I’ve had a few emails about not being able to find sugar free white chocolate, and I totally understand. I live the middle of nowhere and it takes me 4 hours round trip to get into the city to get supplies, and some of these things are hard to come by, especially if you are not in a city. When I made these, the white chocolate bars were on the shelf, so I had no idea white chocolate would be so hard to get my hands on again.
But honestly, these are just as great with the sugar-free chocolate coating, it makes them taste like a mounds bar.
Candy Coating Tips
- Use a double boiler or a metal bowl over a pan of heated water.
- Make sure your tools and bowl are completely dry, any moisture could cause the entire mixture to seize up.
- Do not use a wooden spoon to stir your coating. Wooden spoons can hold on to moisture.
- Do not overheat. Keep the heat on low low low and just give everything time to heat up.
- Don’t use the microwave. You can, technically, but I cannot tell you how many times I have burned chocolate in the microwave (it’s a lot) don’t waste your ingredients, they don’t come cheap!

Toasted Coconut Pie Iced Popsicle Bars
I keep these wrapped in a small bit of parchment paper to keep them from sticking to one another. After I wrap them I add them to a big freezer bag with the air removed and store in the freezer.
You can store these easily for 4 weeks. I mean I haven’t been to that point yet because we keep eating them long before we hit the 4-week mark. I am sure they would be fine even a few more weeks out if they were wrapped really well, but four weeks is a good window.
If your freezer is super cold, these will come out very hard. Give the popsicles about 10 full minutes to soften up before you go at them. If the candy coating is thick, it’s hard to break. They do need time to soften up!
Want More Freezer Treats for the Summer?
I have a great recipe for a peanut butter ice cream cake that uses the same crackle. That ice cream cake, well, I have no words for it, except I need to make it again soon.
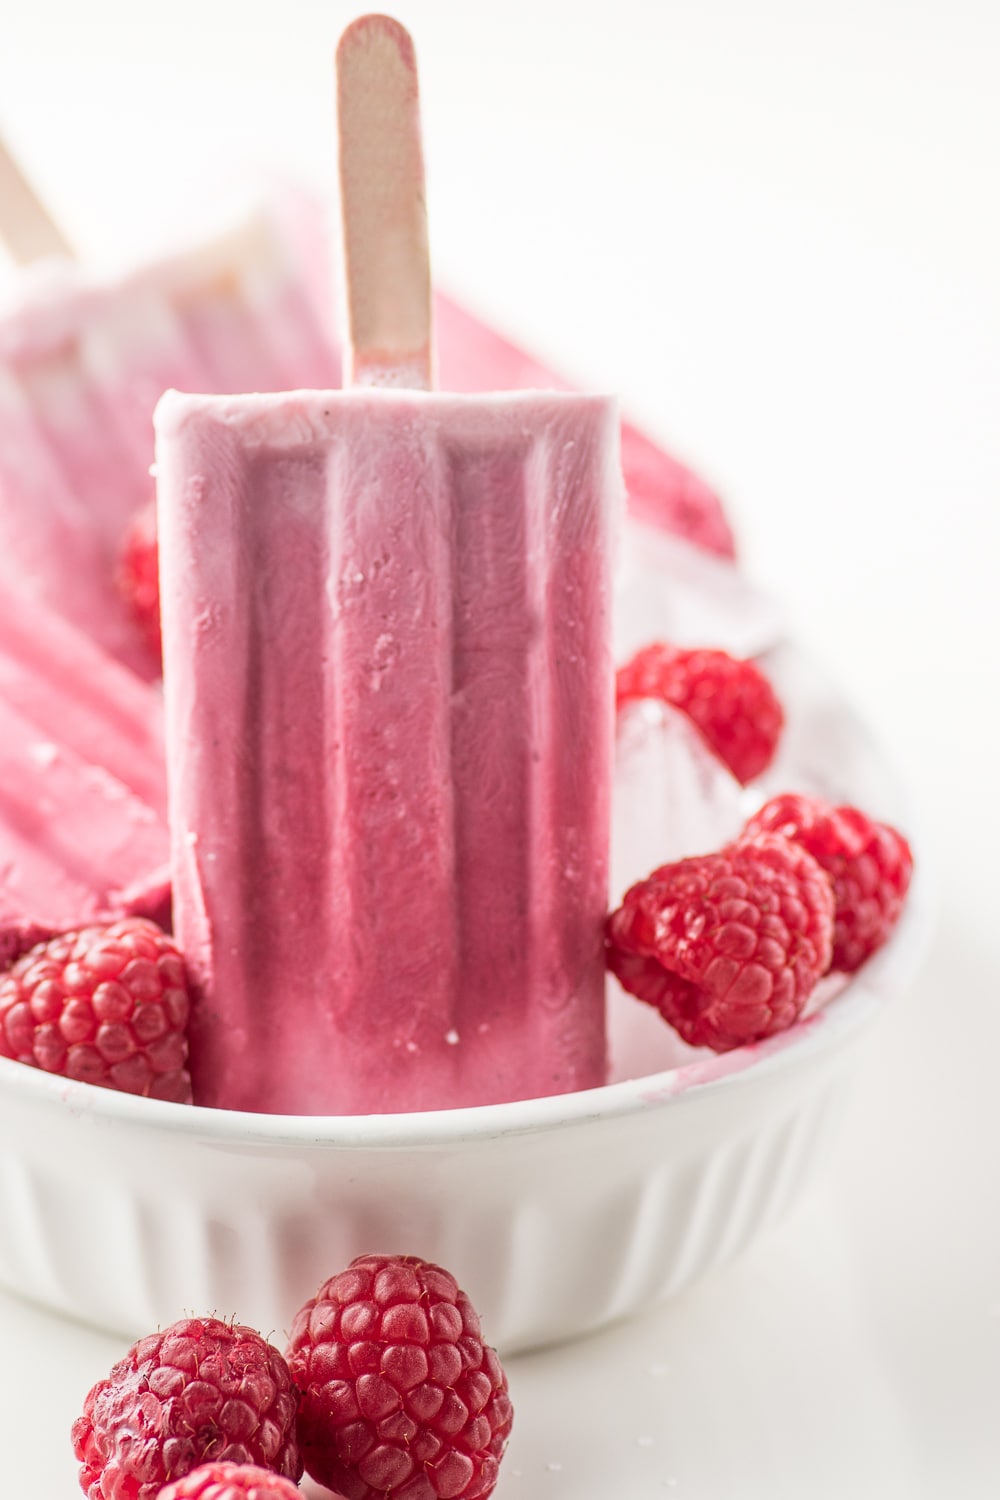
I also have a raspberry popsicle recipe that is much less sweet and little lighter.
Oh and I have a beautifully luscious recipe for homemade lemon gelato too, a must try!

Creamy Coconut Popsicles Low Carb and Sugar Free
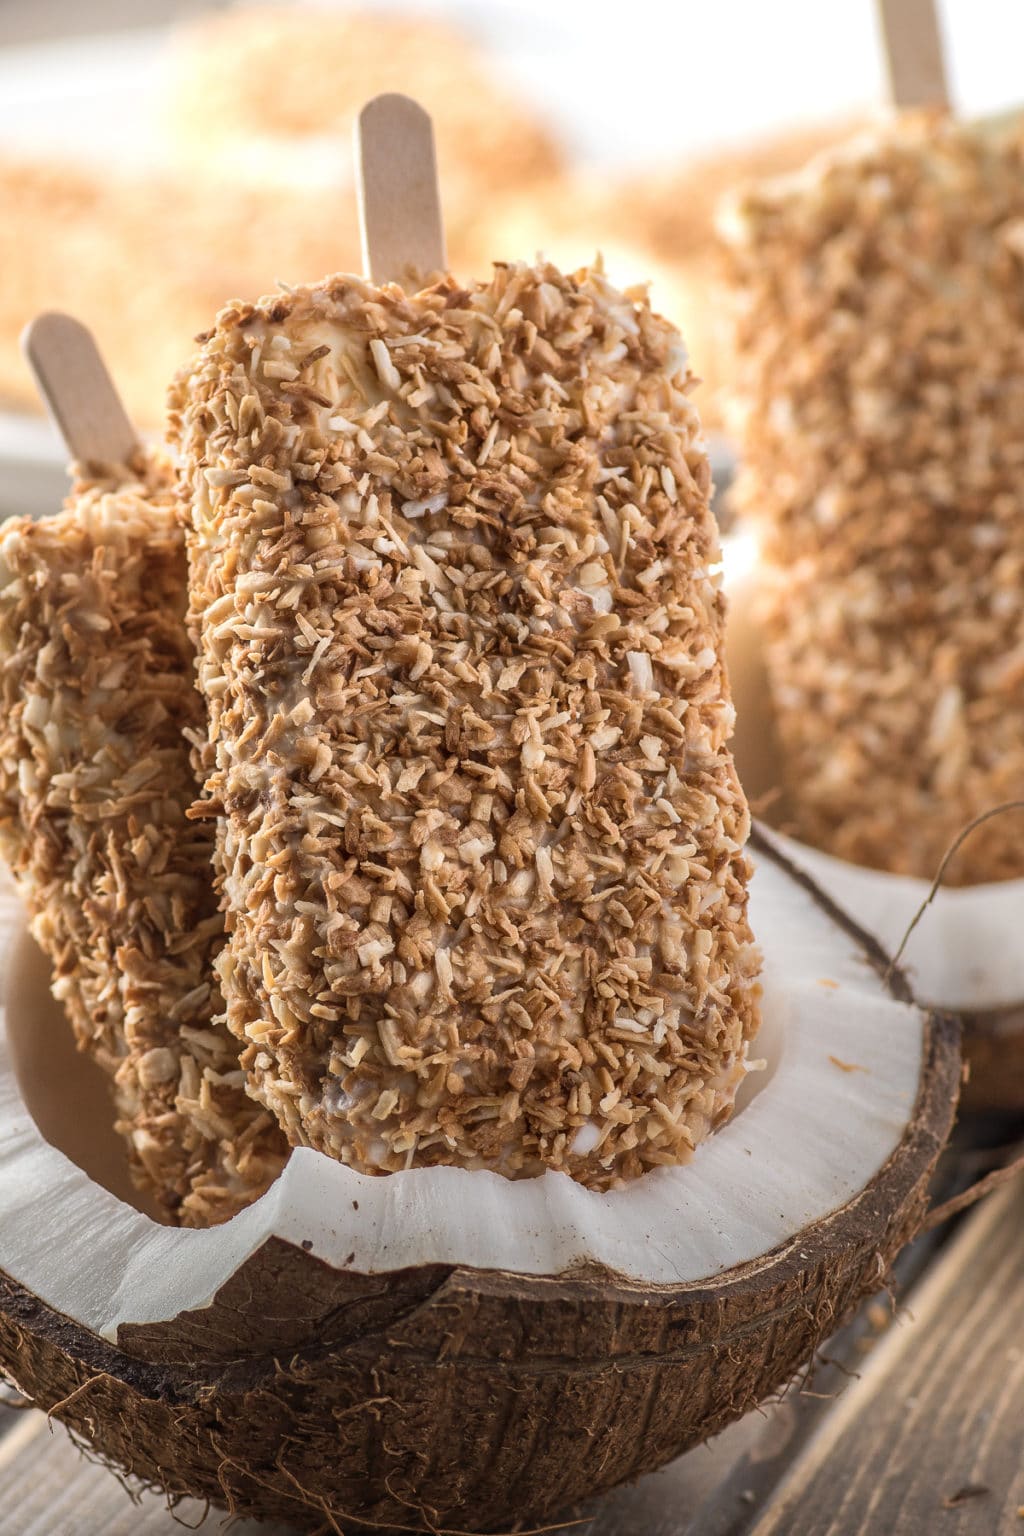
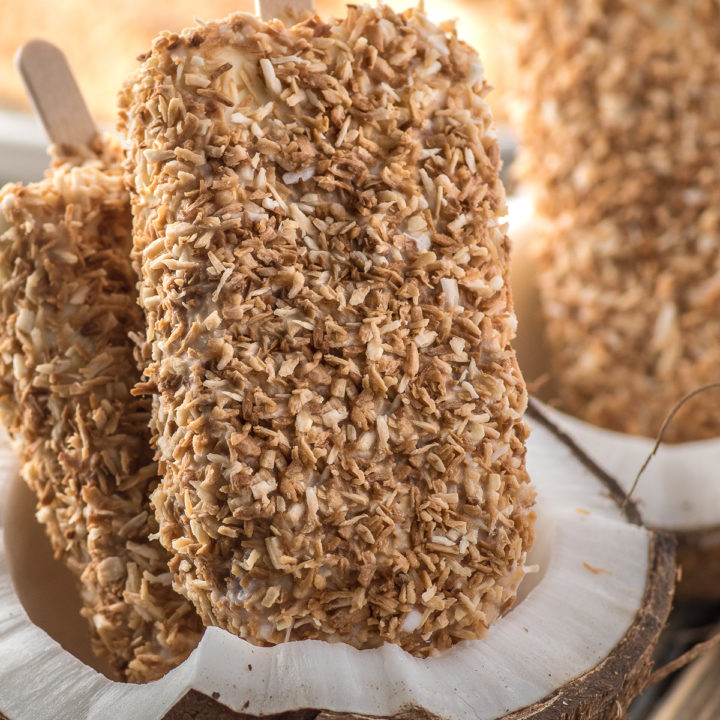
Creamy coconut popsicles with a white chocolate candy coating and toasted coconut. A coconut cream pie frozen on a stick.
Ingredients
Coconut Popsicle Frozen Mixture
- 2 cans of coconut milk
- 1 cup of almond milk (or any other low carb milk)
- 1/2 cup of powdered erythritol (or your favorite sugar replacement)
- 1 Ttsp vanilla
- 1 Tbsp gelatine
- 1/4 cup of hot water
- 1/4 Tbsp salt
White Chocolate Magic Shell Coating
- 4 cups of sugar-free white chocolate
- 12 Tbsp Coconut Oil
Toasted Coconut
- 1 cup sugar free desiccated coconut
Instructions
Coconut Popsicle Frozen Mixture Instructions
- Add 1 Tbsp of unflavoured gelatine to a small bowl and cover with 1/4 cup of boiling water. Give the mixture a quick stir and set aside.
- Add coconut milk, almond milk, erythritol, vanilla and salt to a small sauce pan and heat until the coconut fat melts and the mixture is warm to the touch. No need to boil.
- Give the gelatine mixture another stir to make sure it is completely melted and add it to the sauce pan.
- Give the mixture a good whisk.
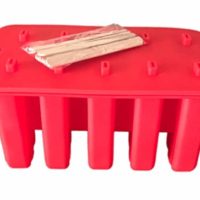
- Pour the mixture into the silicone popsicle mold to 1/4 inch from the top.
- Cover with the silicone cover and insert popsicle sticks.
- Freeze for 6 hours.
Toasted Coconut
- Add coconut to a small pan and place over medium low heat. Stir constantly for 5-7 minutes pulling the coconut from the bottom to the top to ensure it does not burn.
- Allow to cool.
Sugar-Free White Chocolate Magic Shell (candy coating)
- Once the popsicles are frozen it's time to make the candy coating. Add sugar-free white chocolate and coconut oil to a double boiler and heat gently over low heat until the white chocolate is completely melted.
- Move your candy coating to a dipping jar, something tall.
(NOTE this recipe makes a very large batch of candy coating, you could use it for a few batches of popsicles. If you plan on dipping you need enough to fill a jar, but if you do not plan on dipping, you can make less coating. If you decide to spoon the coating over your popsicles, use 1/4 of the candy coating recipe above)
Coconut Popsicle Assembly Instructions
- Place toasted coconut on a plate and spread it out.
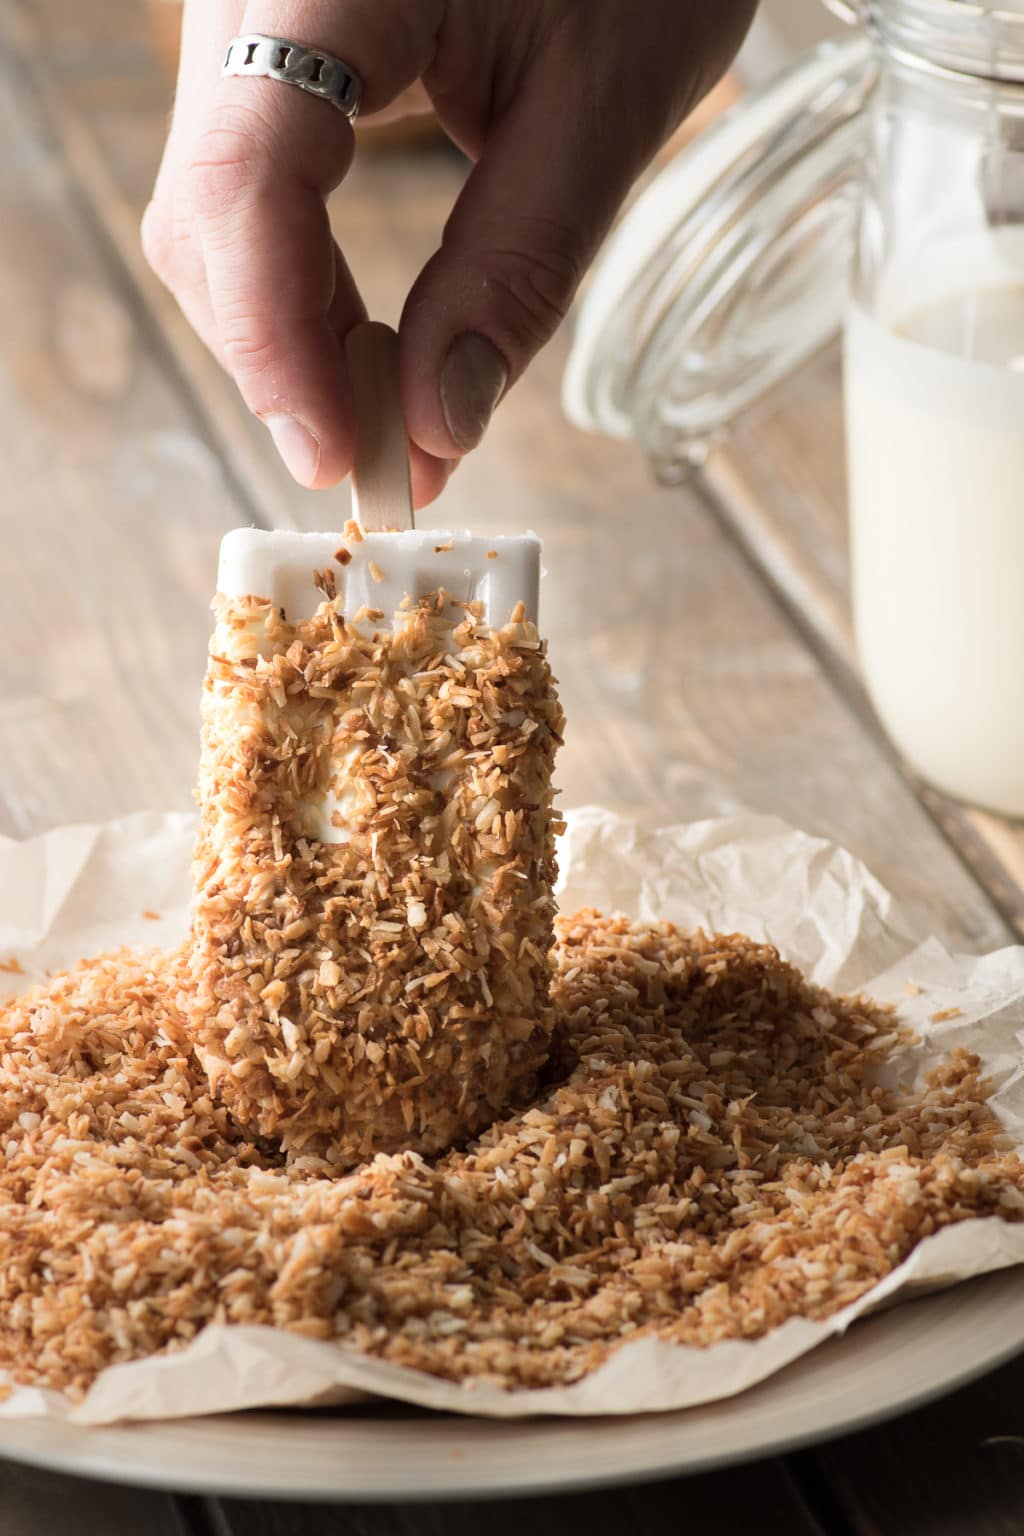
- Dip frozen coconut popsicles into the white chocolate magic shell (candy coating) once, and pull out and let drip for a second or two. The shell firms up VERY quickly but don't let it set up entirely.
- Before the shell completely firms up, dip the entire popsicle into the toasted coconut and flip over quickly to get the entire thing coated in toasted coconut.
- Add the coconut popsicles back to the freezer, either on a tray or plate and let them firm back up for a few minutes.
- Remove the popsicles from the freezer and prepare them for storage. Add a small piece of parchment paper between each one and place into a large freezer bag and put them back into the freezer.
- When it comes time to eat your coconut popsicles, leave them rest a few minutes to soften up.
- Enjoy!
Notes
Sugar alcohols were removed from the total carb counts. Estimates were made on candy coating as it is difficult to measure how much candy coating was used. Based on full dipping my own coconut popsicles I measured what I had left in jar and divided the used chocolate between the 10 popsicles.
If you use drizzle the candy coating, your carb counts will be less.
Recommended Products
As an Amazon Associate and member of other affiliate programs, I earn from qualifying purchases.
Nutrition Information:
Yield: 10 Serving Size: 1Amount Per Serving: Calories: 354Total Fat: 34gSaturated Fat: 16gTrans Fat: 0gUnsaturated Fat: .6gCholesterol: 2mgSodium: 114mgCarbohydrates: 9.5gFiber: 4.9gSugar: 1.2gProtein: 3g


