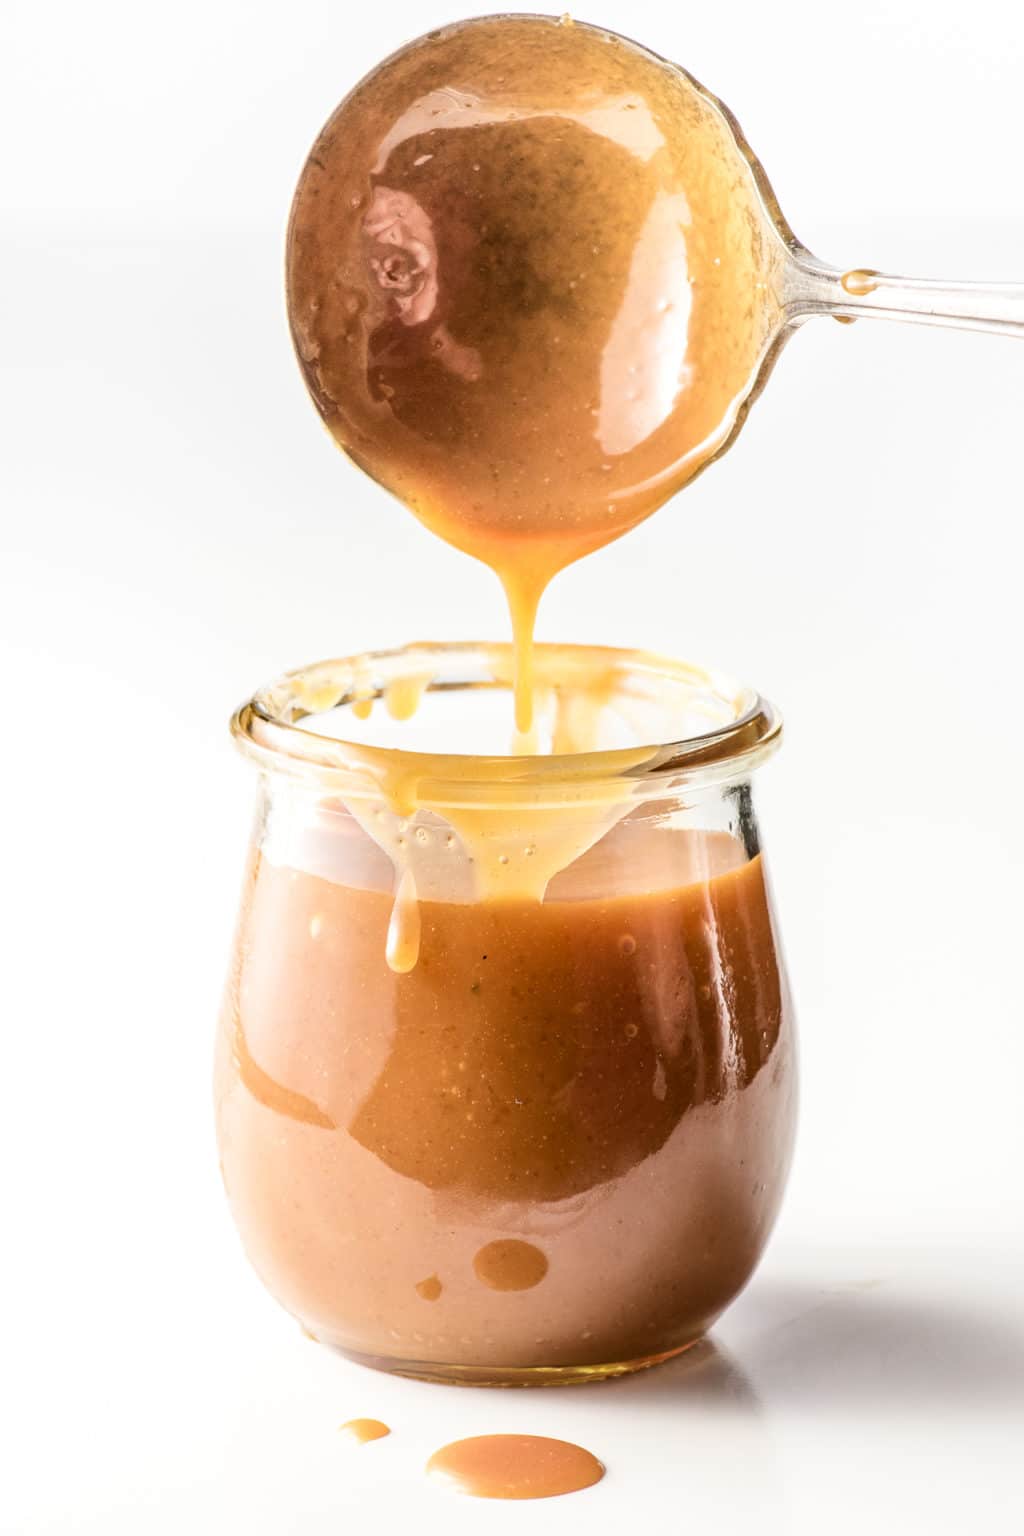
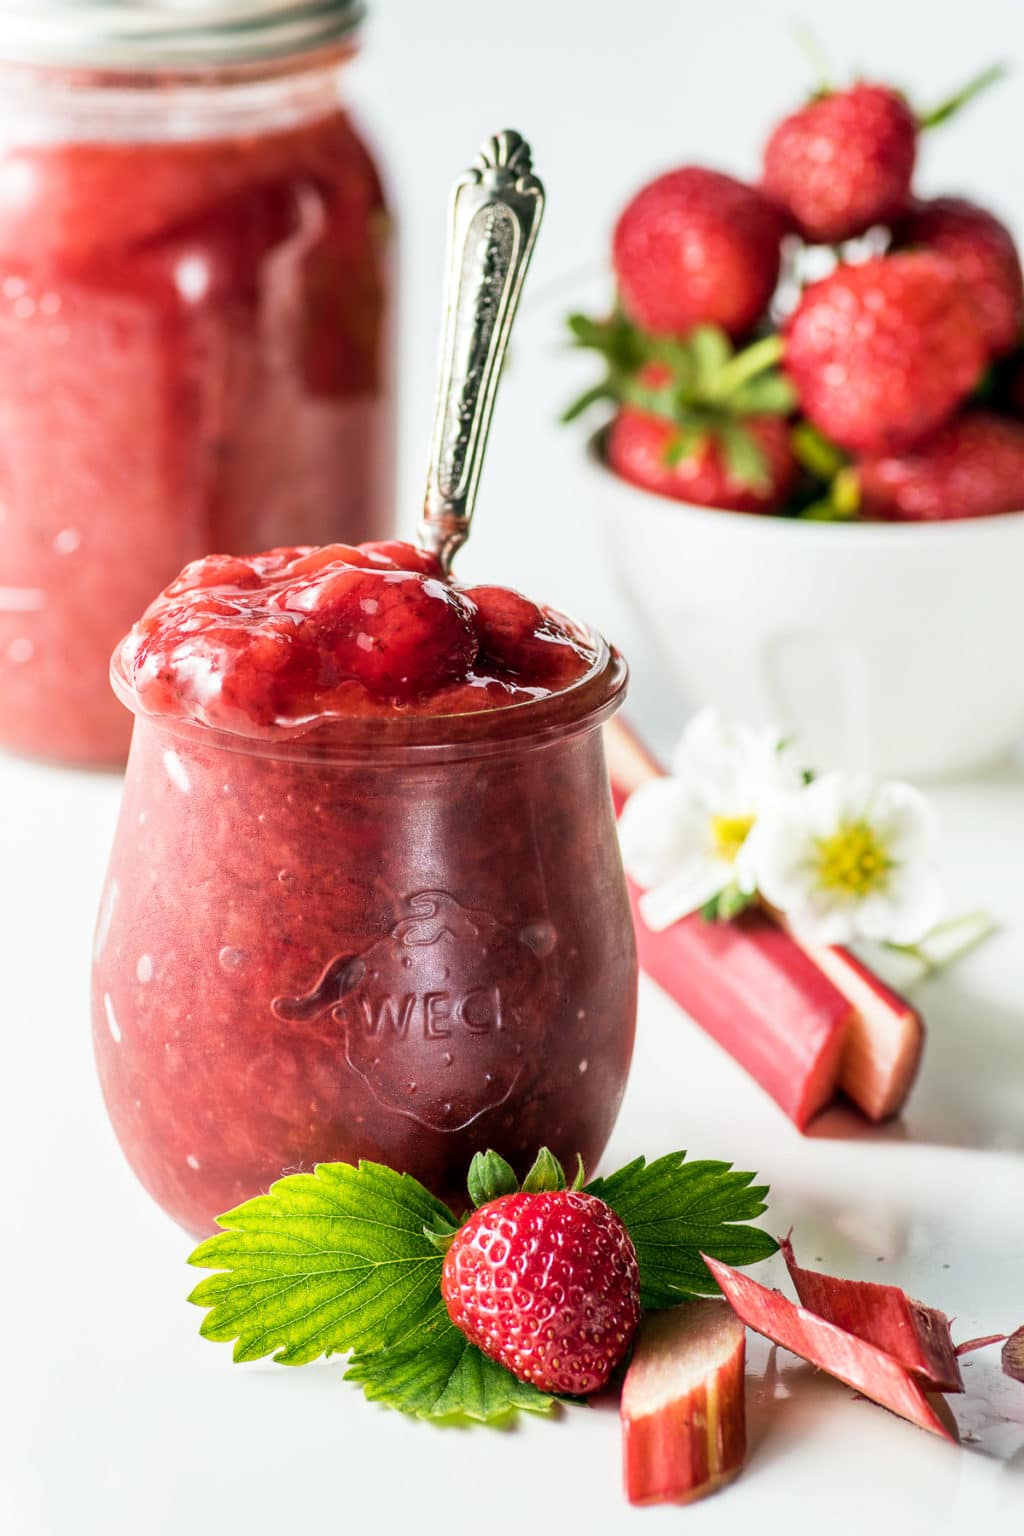
Sugar-Free Raspberry Jam – Shelf Stable, Low Carb and Delicious!
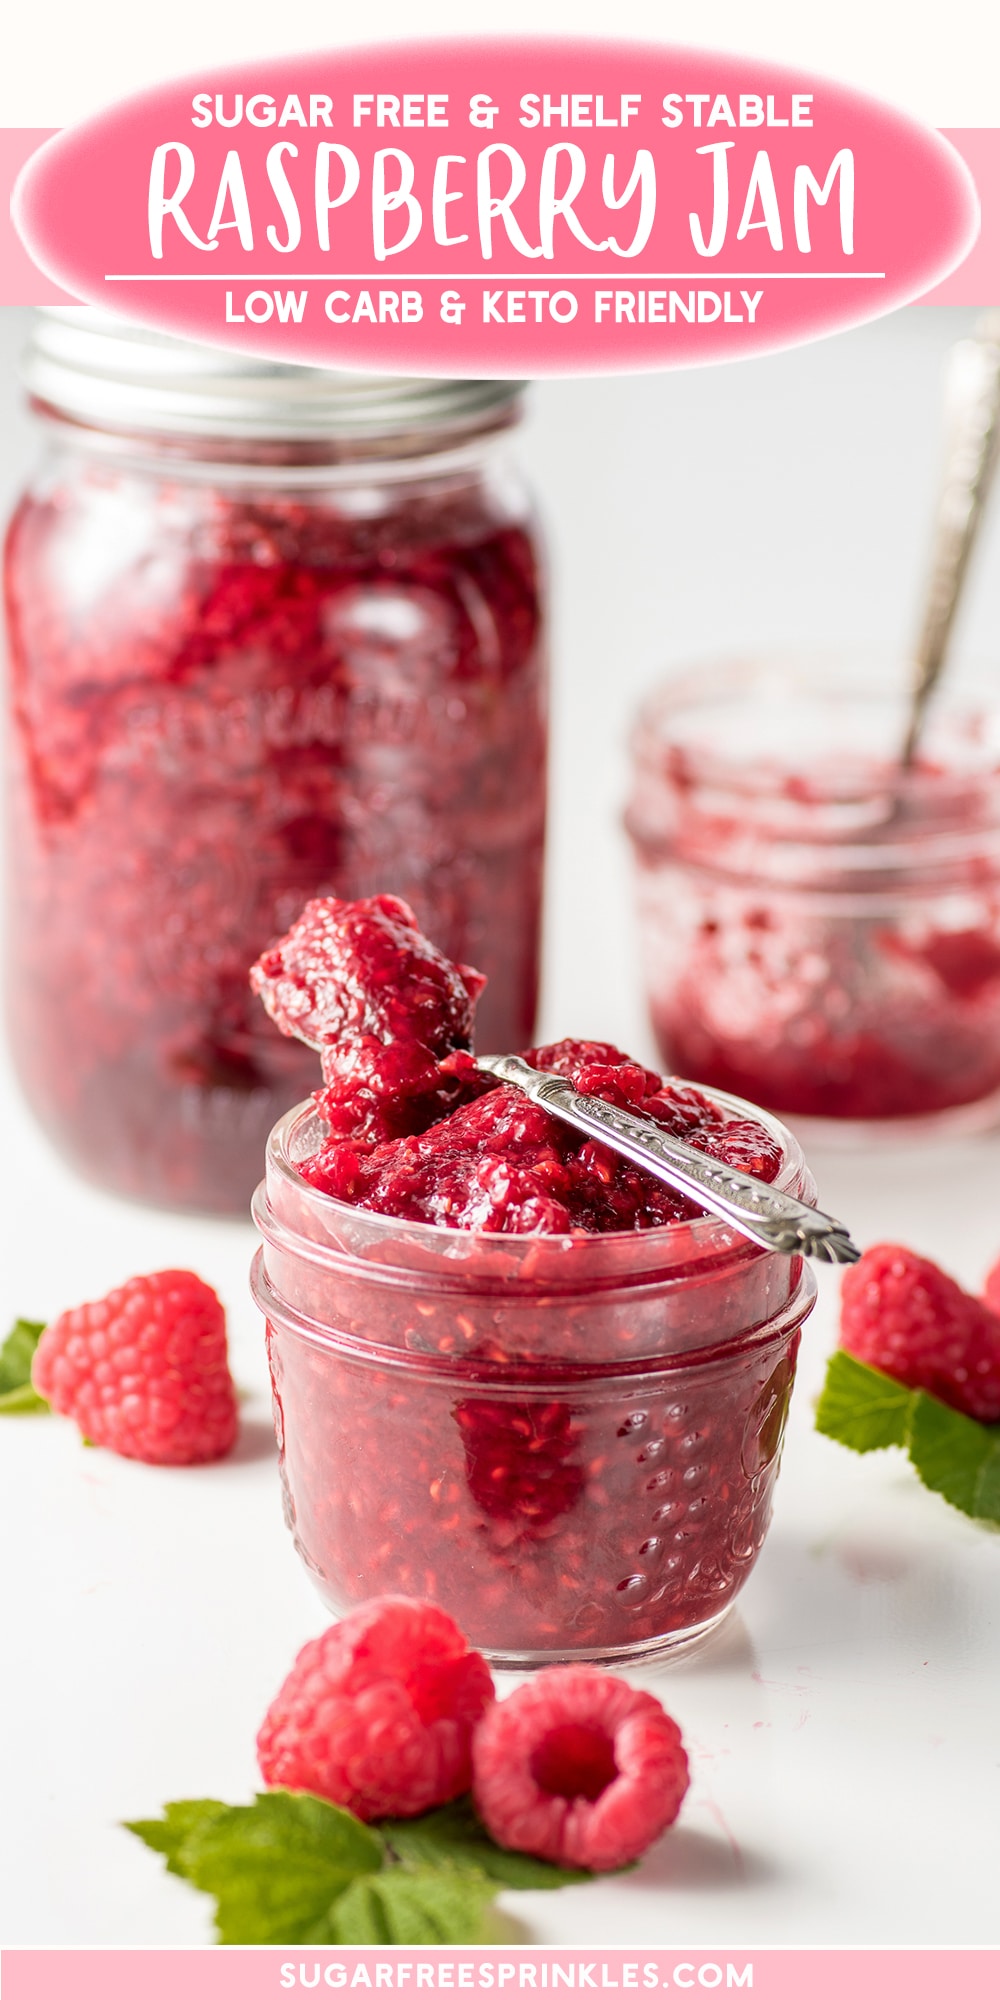
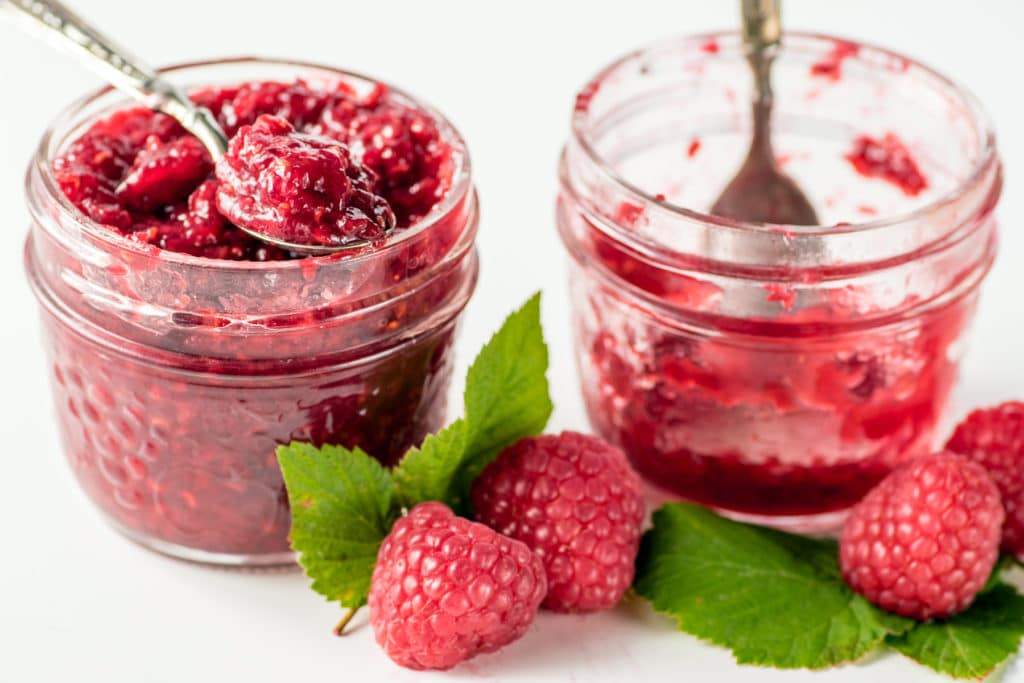
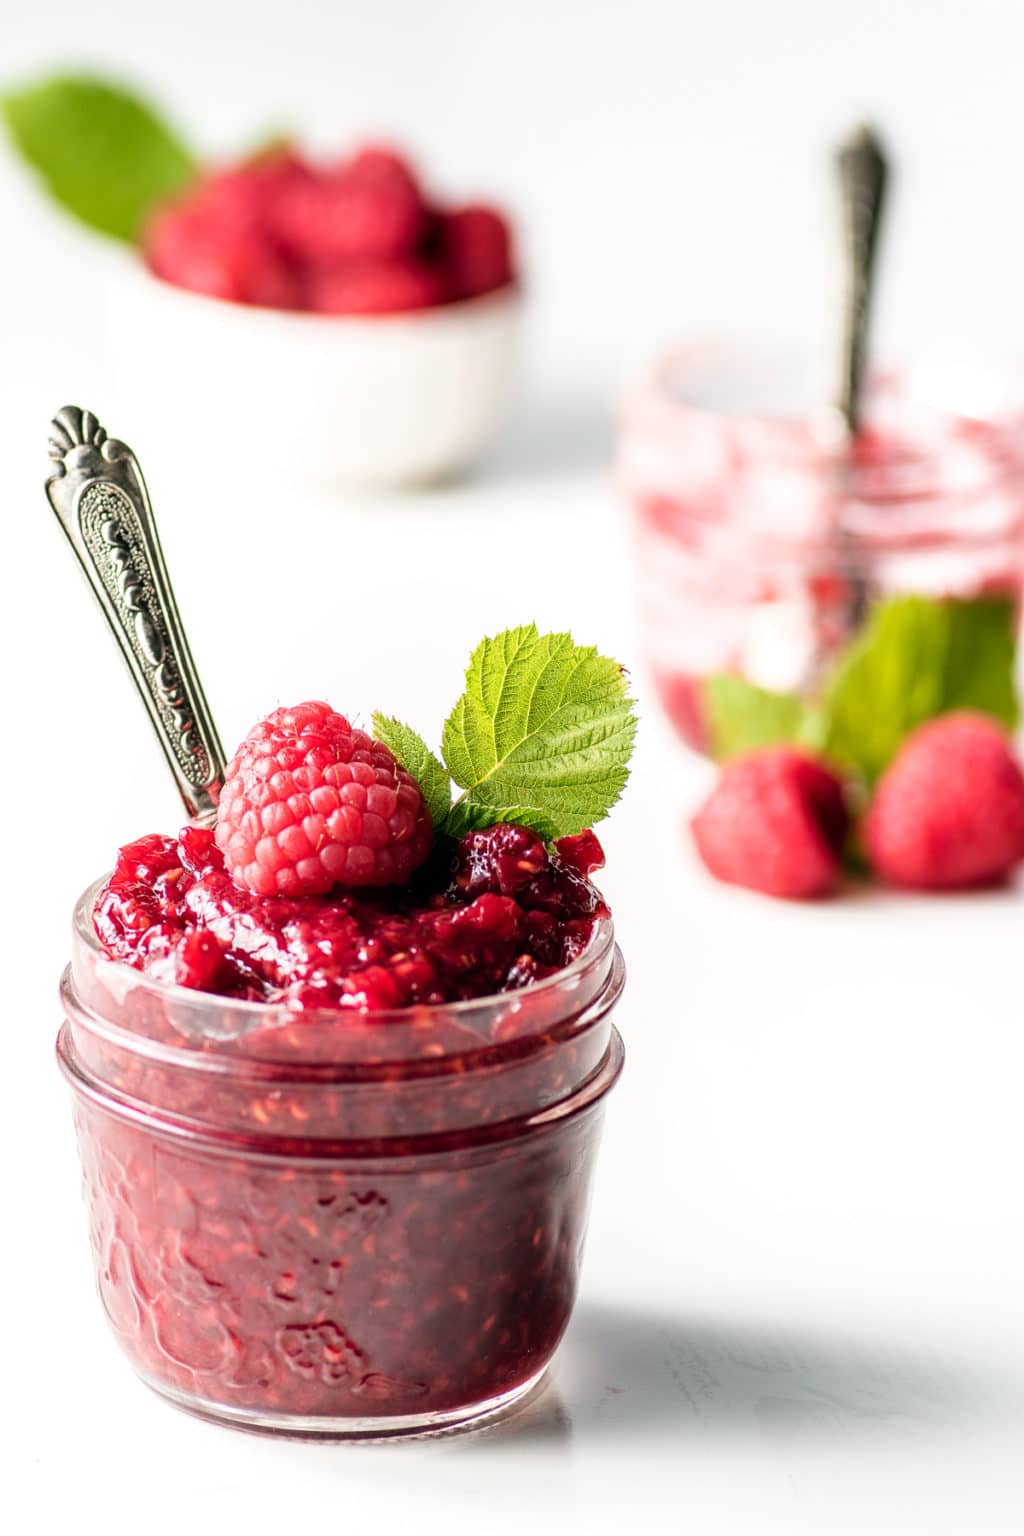
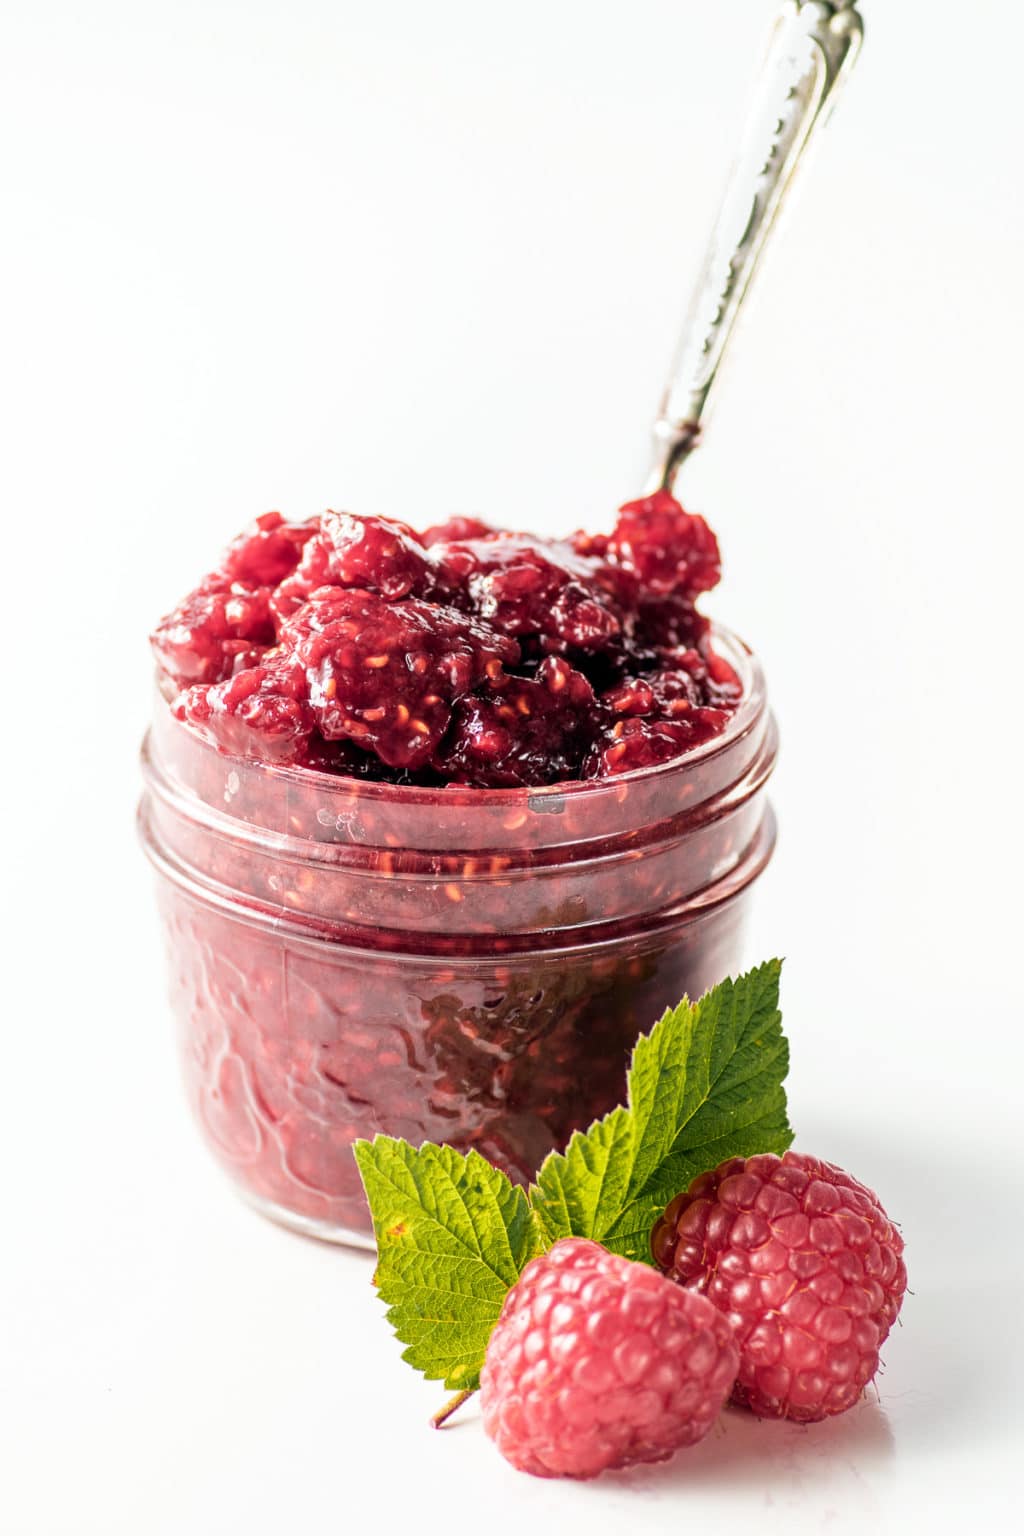
This sugar-free raspberry jam is perfect. It’s thick and jammy and has just the right level of sweetener. Added bonus, it is completely shelf stable up to a year!
Got a bounty of raspberries? Make your own raspberry jam and raspberry filling for all your low carb baking. I made this raspberry jam specifically for these coconut raspberry slices, but you could use it for so much more.
This jam is naturally gluten-free, low carb, and keto-friendly.
There is no added sugar in this recipe, only the natural sugar from the fruit.
Why canning up extra jam is always a good idea
Versatility.
People think jam goes on bread. Sure sure, yeah of course it does, but it does so much more. It is such a great pantry item to have to whip up all kinds of desserts or to add a punch of raspberry flavor to just about anything.
Think of it as a raspberry filling.
Perfect for the top of a cheesecake, or filling for a cake, add it too tart shells, or make some low carb thumbprint cookies.
Like I said, versatile.
Making your jam also allows you to control the ingredients and level of sweetener in your jams. No weird ingredients, no weird taste, just natural fruit-flavored jams.
PLUS making your own shelf-stable raspberry jam is a great way to save some cash. Have you seen the price of a small jar of sugar-free jam?
Not all pectins are loaded with sugar.
Ok, so now let us talk about the pectin issue.
Pectin gets a bad wrap in the low carb world. You will often see recipes say “made without pectin”, and that’s because even the low sugar pectins have sugar in them.
Ok, so what’s the solution?
Real pectin is the solution.
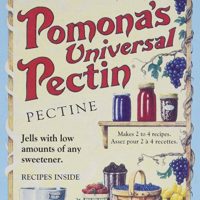
I found this great product called Pomonas 100% pure pectin. This isn’t a sponsored post. I legitimately adore this product.
No sugar required, but you do need to use a sweetener. Stevia, xylitol, erythritol, monk fruit, allulose – it doesn’t matter, it will work. I tested ALL of them to see what sugar replacement would work best and they all worked exceptionally well.
And carb counts? I quickly found the full nutritional information on Pomona’s website:
One teaspoon (3 grams) of Pomona’s Universal Pectin contains:
10.2 Total Calories
2.55 grams carbohydrate (from soluble fiber)
2.5 grams of soluble fiber
Since we’re only adding 2 teaspoons to the entire recipe (over 64 servings ), the carb additions are negligible.
Pomona’s pectin is vegan, gluten-free and non-GMO.

PomoNa’s 100% pectin
So if you have canned jam before this process has a quick extra step.
There are two types of pectins – pectins that require sugar to gel, and pectins that require calcium to gel. There is a whole scientific explanation on Pomona’s website if you’re interested. The package of pectin also comes with a small package of calcium powder, no need to buy anything else.
The calcium powder gets mixed into a small jar of water (which lasts forever refrigerated). The calcium water is what gets added to your jam recipes, usually a teaspoon or two at a time.
SO easy.
You can find Pomona’s pectin on Amazon, or in health food stores. I paid a little over $8.00 Canadian for a box. I balked at the price but did not realize that one box will make up to 22 half-pints (8 ounce) jars.

Working with PomoNa’s 100% pectin
I found working with this pectin much easier vs working with regular pectin. It seemed much more forgiving. If the jam didn’t gel to my requirements I could add more calcium water and it would thicken.
If I added my pectin and sweetener, I could always add more sweetener and continue to process without over thickening the jam. This was great because I wanted to make sure my jam was sweet enough, but I didn’t want to over sweeten at the start.
Additionally, If you have jars of jam that don’t quite set after they are cooled, you can reprocess them and add either more pectin or more calcium water to get the gel to thicken.
The instructions come in the box, and they are super easy to follow. Pomona’s also has a fantastic website with all kinds of instructions and base recipes for you to work with including instructions for developing your own recipes.
- Quick note: Use filtered water in your recipes. If you have hard water (which tends to lean heavy on the calcium already) they will thicken more than you want them to – so just be mindful that your water can play a part in how thick your jam gels.

What are the best sweeteners for this low carb raspberry jam recipe?
I tested them all! My kitchen will be forever sticky after making a billion bottles of jam. (I hyperbolize it was only a million)
I tested Stevia (which I am not a fan of in the first place, but for testing, I gave it whirl), Swerve, xylitol, erythritol, monk fruit/ erythritol blend, allulose, and Truvia. They all worked beautifully, but some stood out above the rest.
Check out Pomona’s website for details about working with stevia.
By far the sugar-free raspberry jam made with Allulose was the best. It had a sticky gooey texture that commercially bottled jams are known for, and had the best taste. It straight up tasted like jam. By far my favorite.
Erythritol did have a tendency to turn grainy when cold, as erythritol tends to do. If you warmed the jam up, it was perfect. So if you want to use Erythroil just know that graining up when cold will happen.
I also tested my favorite sweetener, So Nourished monk fruit erythritol blend, and it did grain up a tiny bit but not as much as straight-up erythritol in the recipe.
Xylitol was GREAT, but it does add additional carbs, so not my favorite for that reason.
Truvia, Stevia, and Swerve worked fine, but I find they have an aftertaste for me, but that’s personal. If you like Truvia, or stevia, or Swerve, absolutely use them. The jam gelled beautifully, and the fruit held the colour and texture.
****If you use Xylitol, remember that it is poisonous to dogs and cats! ****

If you don’t read anything else, please read these important canning tips.
There are a few safety precautions!
This sugar-free strawberry jam requires a full 10-minute rolling boil to seal the jam jars – DO NOT skip this!
- DO NOT skip the lemon juice. Use bottled lemon juice. Fresh lemons vary in acidity, and you want to make sure you get your acidity level correct. Using bottled lemon juice will ensure you’re adding the right amount.
- Do not use a jam bottle larger that 500ML (2 cups).
- When you pull your sugar-free raspberry jam bottles from the canning bath, leave them rest for 24 hours without moving them, or tilting them. Let them set.
- Any jars that did not pop or did not seal properly can be reprocessed in the water bath for another 10 minutes, or stored in the refrigerator for up to 3 weeks.
Storage & uses for your low carb raspberry jam
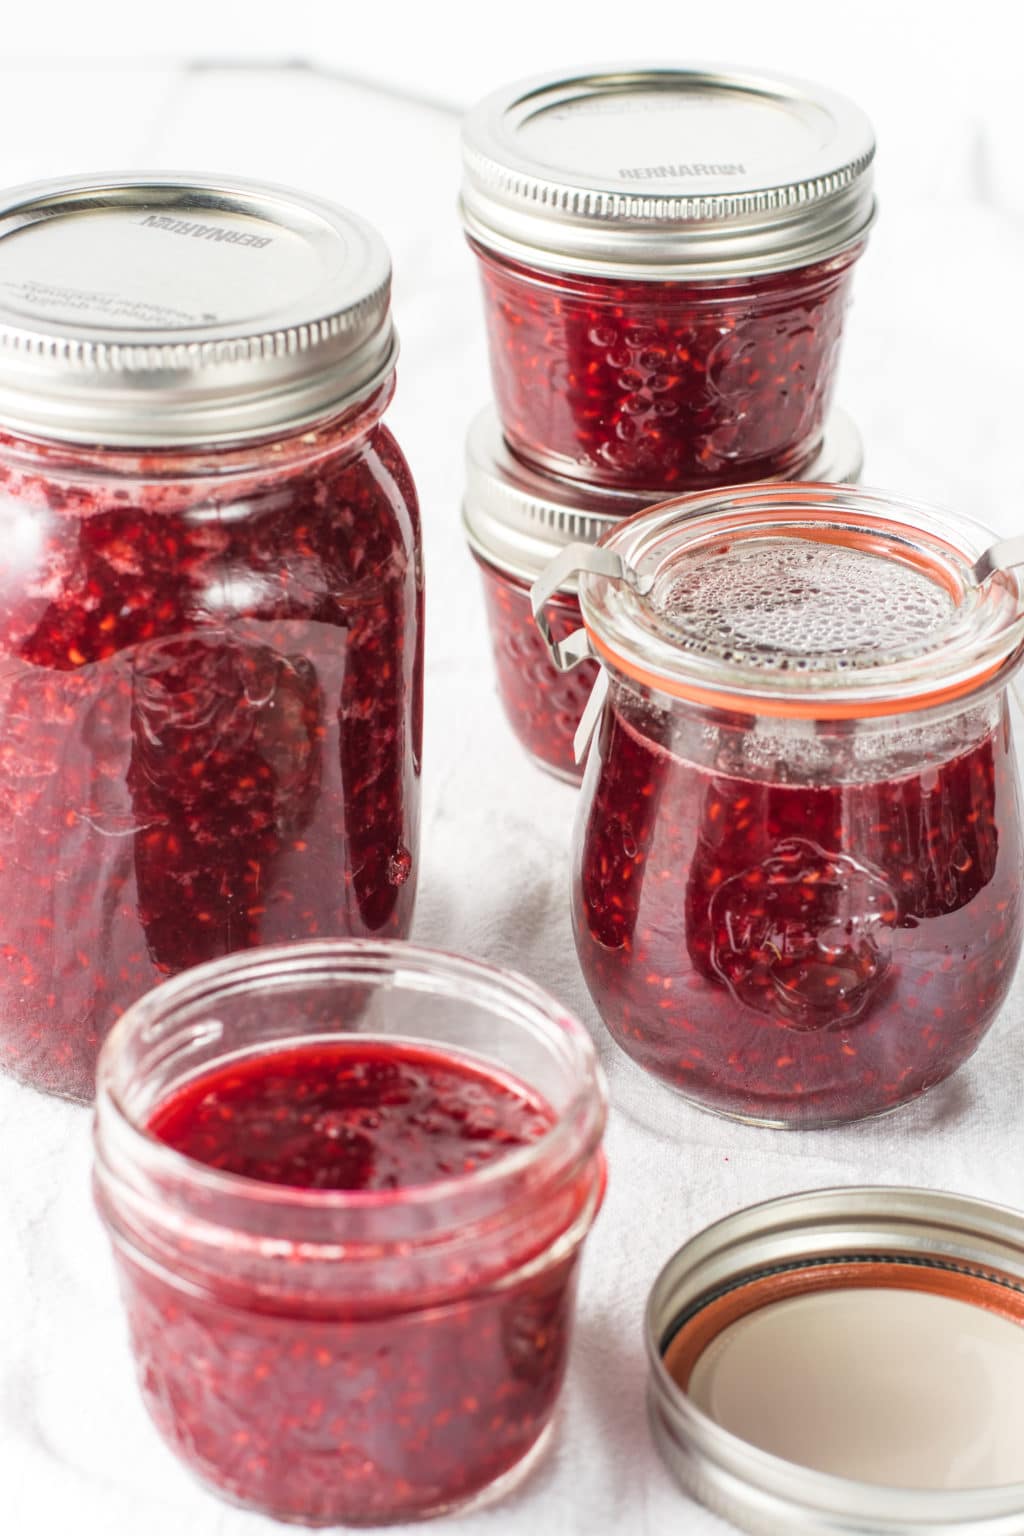
Store these jars of ruby deliciousness in a cold dark place for up to a year. After the sugar-free raspberry jam jars are opened they can be stored in the fridge for up to 3 weeks.
Want More Sugar-free Shelf-stable Jam recipes?
How about a fresh blueberry jam that tastes like summer in a jar?
Or a cherry jam that does double duty as a cherry pie filling?
Plus a simple strawberry jam perfect for all kinds of low carb baking recipes.
Looking for More Keto Jam Recipes?
Can’t get enough homemade jam? Check out my other recipes for sugar free and keto jams:
- Sugar Free Blackberry Jam
- No Sugar Added Strawberry Jam
- No Sugar Added Cherry Jam (Keto!)
- Strawberry Rhubarb Jam (Sugar Free)
- No Sugar Added Blueberry Jam
- Keto Lemon Curd Recipe
- Blueberry Freezer Jam

Sugar-Free Raspberry Jam - Shelf Stable, Low Carb and Delicious!
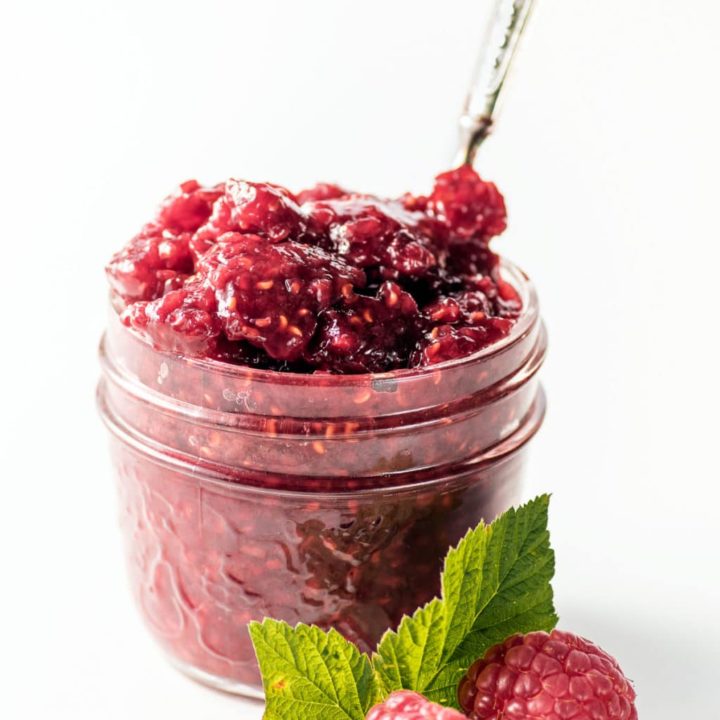
A tart but sweet raspberry jam made without sugar. This jam is shelf-stable for up to a year and you can make it with your favorite low carb sweetener.
Ingredients
- 4 cups mashed raspberries (about 8 cups whole raspberries)
- 2 tsp calcium water
- 2 tsp Pomona’s pectin powder
- 1 tsp vanilla
- 2 Tbsp lemon juice
- 3/4 cup allulose
Instructions
- Wash jars, bands, and lids. Place jam jars in water bath canner filled halfway with water. Bring water to a boil. Turn off the burner and leave jars in canner until ready to use
- Place lids in water in a small saucepan and heat until water simmers. Keep lids in warm water until ready to use.
- If using fresh raspberries, clean & remove debris before adding to a large saucepan. If using frozen measure and just pour right in.
- Add lemon juice and calcium water and blend in well.
- In a bowl add allulose and pectin and blend well.
- Heat the raspberries and as they start to soften, mash with the back of a fork, or use a potato masher. I like to leave a few whole berries in my jam, but mash to the consistency that you like. Bring berries to a boil.
- Add pectin-sweetener mixture, continuing to mix for 1 to 2 minutes to dissolve the pectin while the jam comes back up to a boil. Boil for 1 full minute once the jam reaches the boiling stage.
- Fill jam jars to ¼” from the top. Clean rims with a clean cloth. Add lids.
- Add jars to the water bath canner when the water in the canner reaches a full boil. Boil 10 full minutes (add 1 minute more for every 1,000 ft. above sea level).
- Remove from water. Let jars cool undisturbed for 24 hours.
- Test for seal, if a jar did not seal, you can reprocess it again in the canner for 10 full minutes, or add that jar to the refrigerator for up to 3 weeks.
Notes
This recipe was adapted from https://pomonapectin.com/recipes/raspberry-jam/ and created and tested specifically using Allulose.
Recommended Products
As an Amazon Associate and member of other affiliate programs, I earn from qualifying purchases.
Nutrition Information:
Yield: 64 Serving Size: 1 TBSAmount Per Serving: Calories: 5Total Fat: 0gSaturated Fat: 0gTrans Fat: 0gUnsaturated Fat: 0gCholesterol: 0mgSodium: 0mgCarbohydrates: 1.3gNet Carbohydrates: .6gFiber: .7gSugar: 0gSugar Alcohols: 3.75gProtein: 0g
Nutritional information for the recipe is provided as a courtesy and is approximate only. We cannot guarantee the accuracy of the nutritional information given for any recipe on this site. Erythritol carbs (and sugar alcohols) are not included in carb counts as it has been shown not to impact blood sugar. Net carbs are the total carbs minus fibre.


